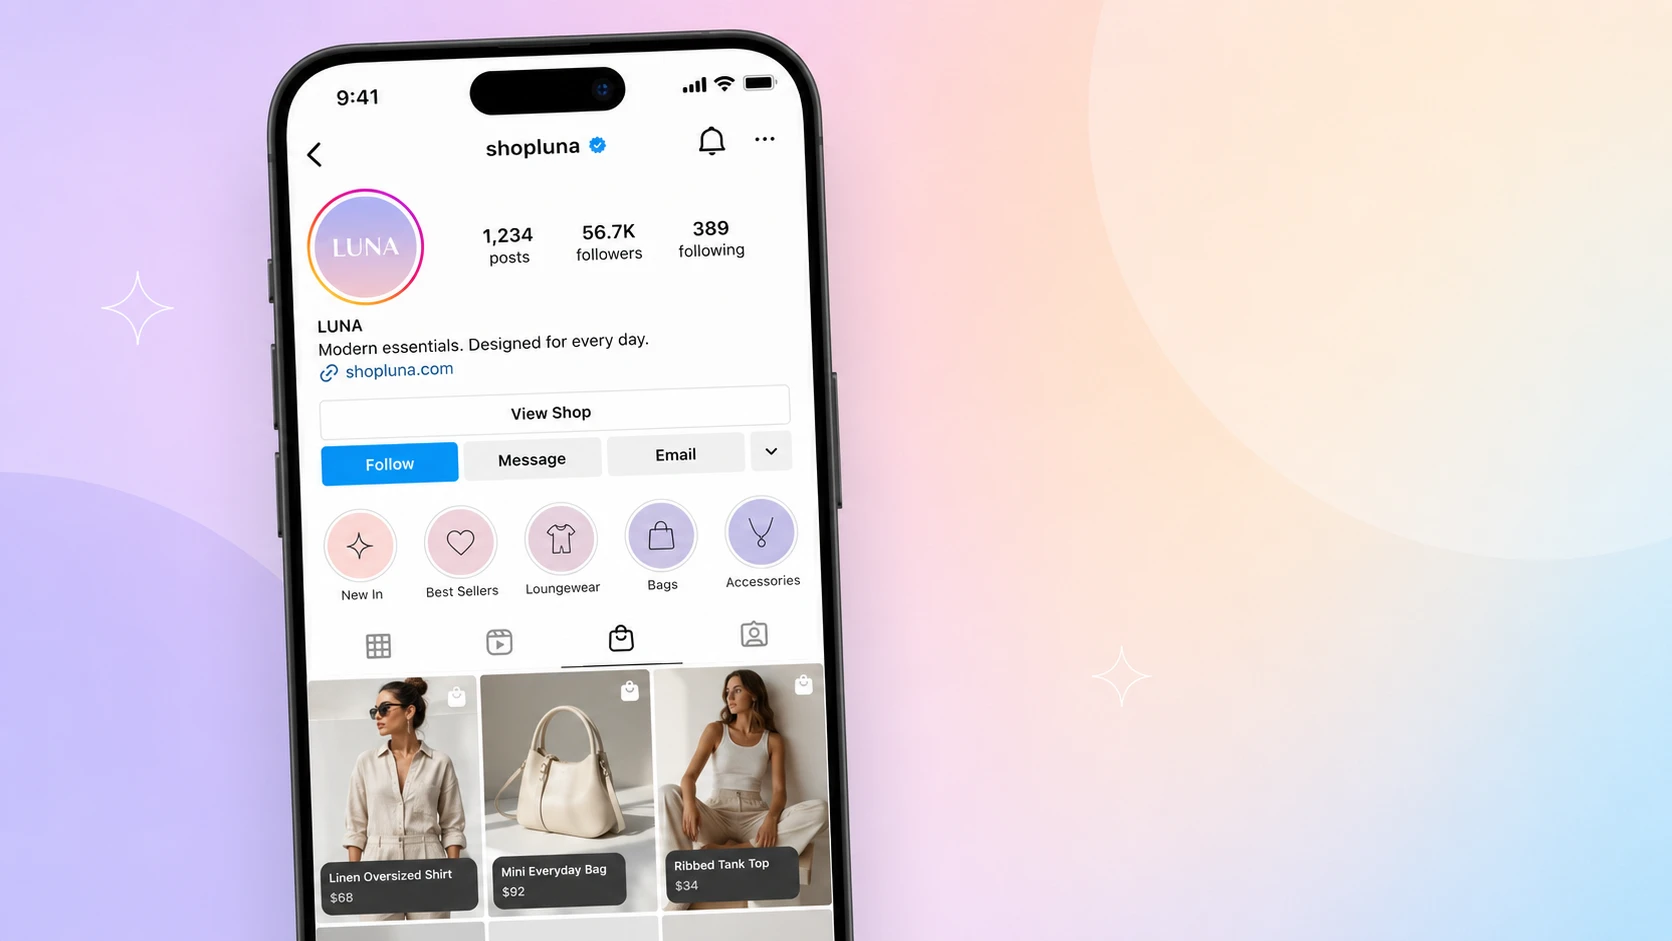
You don’t need a huge audience to start selling on Instagram — you need the right system.
Last updated: July 11, 2026
If you only have a few hundred followers, don’t worry — plenty of small accounts, some with fewer than 500 followers, sell consistently on Instagram. What matters isn’t your follower count, it’s having the right system in place. This guide walks through how to set up an Instagram Shop, create and sync a product catalog, optimize your profile for sales, and build a content strategy that actually converts.
Three Ways to Sell on Instagram
Before diving in, it helps to know that there are three main ways to sell on Instagram — DMs, a link-in-bio tool, or Instagram Shop. Depending on your business, you can use one of these or combine all three.
1. Direct Message (DM) Automation
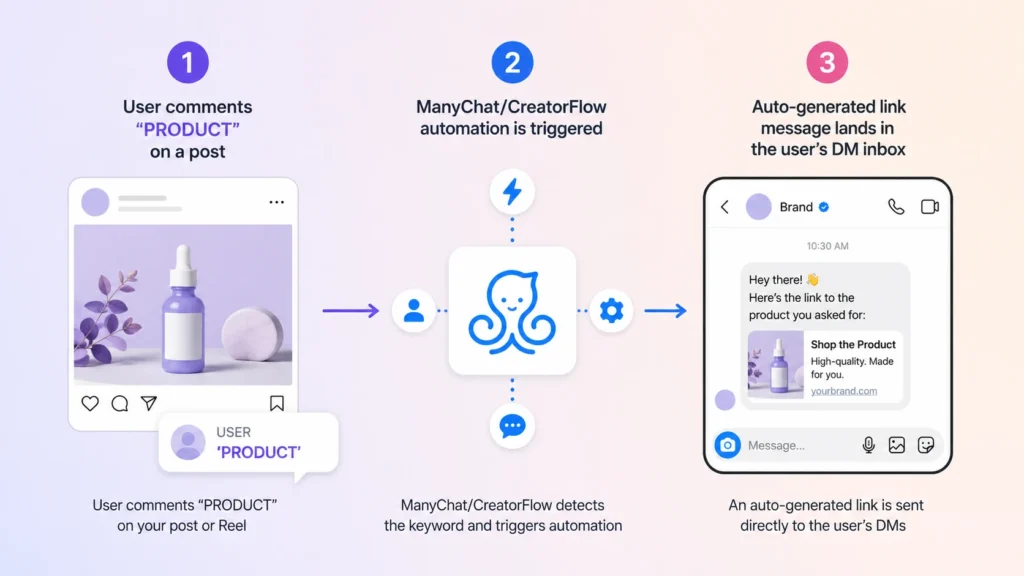
This is one of the fastest ways to convert interest into sales. On a post, you ask followers to comment something like “Product” or “Link,” and they instantly receive a private message with the link. This entire flow runs through comment-to-message automation tools like ManyChat or CreatorFlow. It works especially well for time-sensitive promotions, affiliate marketing, and product launches, and tends to have a high conversion rate.
2. Link-in-Bio Tool
This acts as a central hub where followers can access multiple links from a single profile URL. Hostinger has a built-in link-in-bio feature with SEO, analytics, and marketing integrations, so you can fully customize it and track what’s actually working.
A simple formula for writing your bio:
- Who the product helps
- What outcome it delivers
- A call to action
- Add proof or numbers if you have them (e.g., “Trusted by 500+ clients”)
Example: “Helping small businesses market their brands — trusted by 500+ clients.”
3. Instagram Shopping
This is Instagram’s built-in way to sell products. The main requirement is a business profile (creator accounts work too, but business profiles get better access to commerce features). It’s also worth checking the commerce eligibility list, since Instagram Shopping isn’t available in every country yet.
Once set up, you can tag products directly in posts or Reels, and people can tap and buy without ever leaving the app. To unlock features like the “View Shop” button and product tagging, Instagram usually requires a verified website domain that you actually own — this is how Meta confirms your business is legitimate.
Instagram Shop Approval Process and Common Rejection Reasons
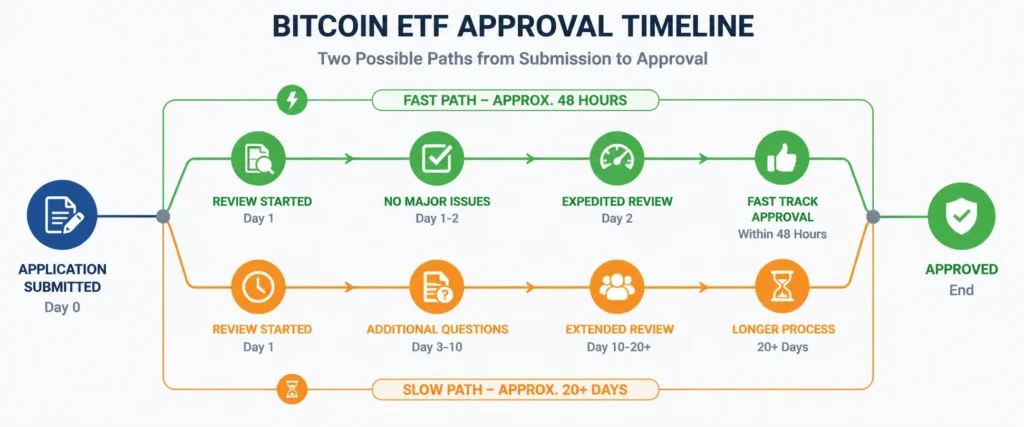
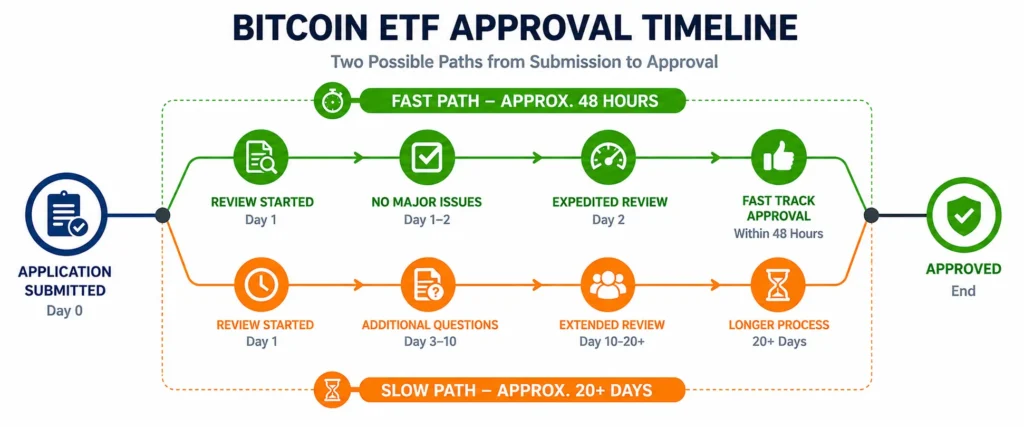
To activate Shopping, you’ll need to submit your account for review. Approval typically takes anywhere from 3 days to 2 weeks, though it can occasionally take longer. Some shops get approved within 48 hours, while others sit in review for 20+ days with no explanation.
Common reasons for rejection are usually small, fixable issues:
- Domain not verified in Business Manager
- Website content doesn’t match your profile’s content
- A brand-new account with little to no activity
Since Meta doesn’t offer a direct support line for this, the best approach is to apply early and double-check every detail before submitting.
How to check your shop status: Go to your Instagram profile, open the menu, and look for “Shopping.” If it’s visible and you can tag products, you’re approved. If it still says “Set up Instagram Shopping,” you’re still waiting on review.
Creating and Syncing Your Product Catalog
Instagram pulls from your catalog to display products in posts, Stories, and the Shop tab — so this is the foundation everything else builds on. Some e-commerce platforms connect directly to Meta Commerce Manager to sync products automatically, but you can also upload products manually, which is useful if you don’t want your entire inventory visible on Instagram.
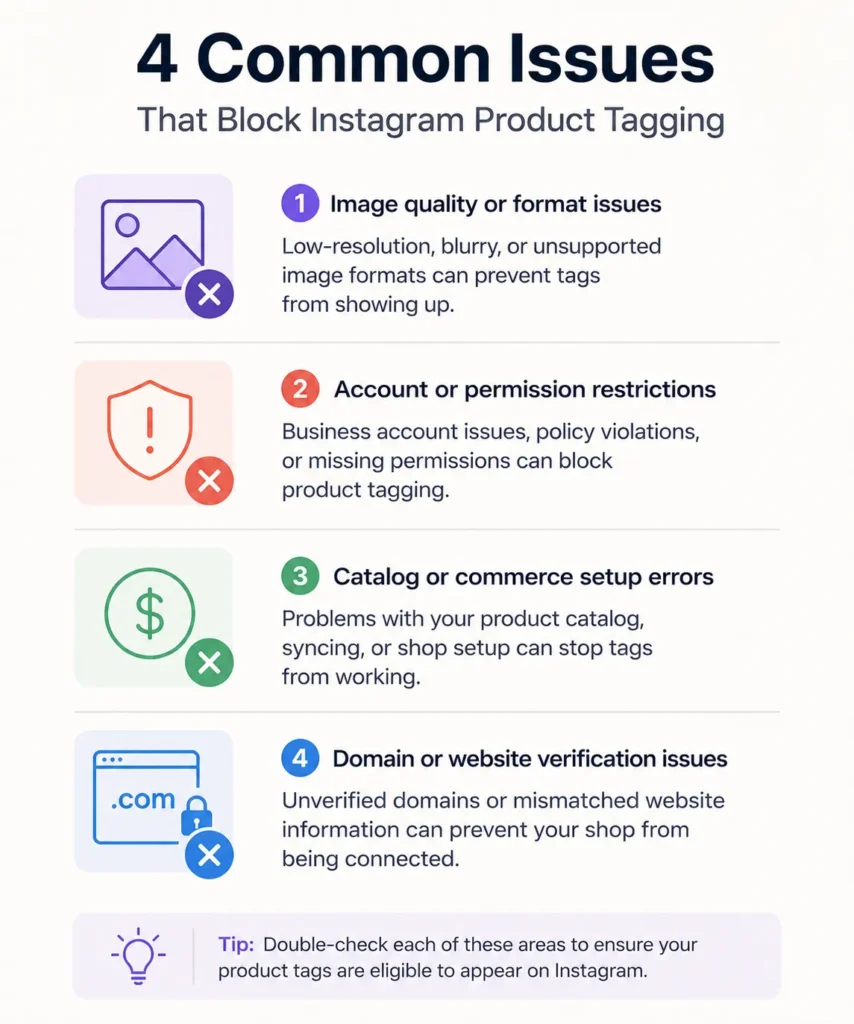
Common Reasons Sync Fails
| Issue | Cause |
|---|---|
| Products not showing up | Images smaller than 500x500px, blurry, or awkwardly cropped |
| Entire catalog blocked | A single policy-violating product can affect the whole catalog |
| Products won’t sync | Currency mismatch between your store and Instagram account (e.g., USD vs. EUR) |
| Features locked | Domain not properly verified |
Troubleshooting Checklist
If you run into a sync issue, work through these steps:
- Open Commerce Manager and confirm your products show “Active” status. “Pending Review” simply means Meta hasn’t finished reviewing them yet.
- Check the Issues tab for specific error messages and resolve them one by one.
- Force a resync from your store — disconnect the Instagram sales channel, wait 5 minutes, then reconnect it. The sales channel being accidentally toggled off in the dashboard is one of the most common causes of sync failures.
Once your products appear in Commerce Manager and can be tagged in a post, your catalog is live. Test it by creating a Story and tagging a product sticker.
Setting Up Tracking
Before launching, make sure the following are in place so you can track clicks from product tags to your website:
- Your website is published
- Your Meta Business Page is active
- A cookie banner is enabled on your site
Then create a Meta Dataset (which has replaced the older Pixel setup), copy the Dataset ID, and add it to your website integrations inside Hostinger’s website builder. Finally, verify everything is tracking correctly using the Facebook Pixel Helper Chrome extension.
Turning Your Profile Into a Sales Funnel
Regardless of which selling method you use, your profile itself needs to work as a funnel.
Pinned Post Strategy
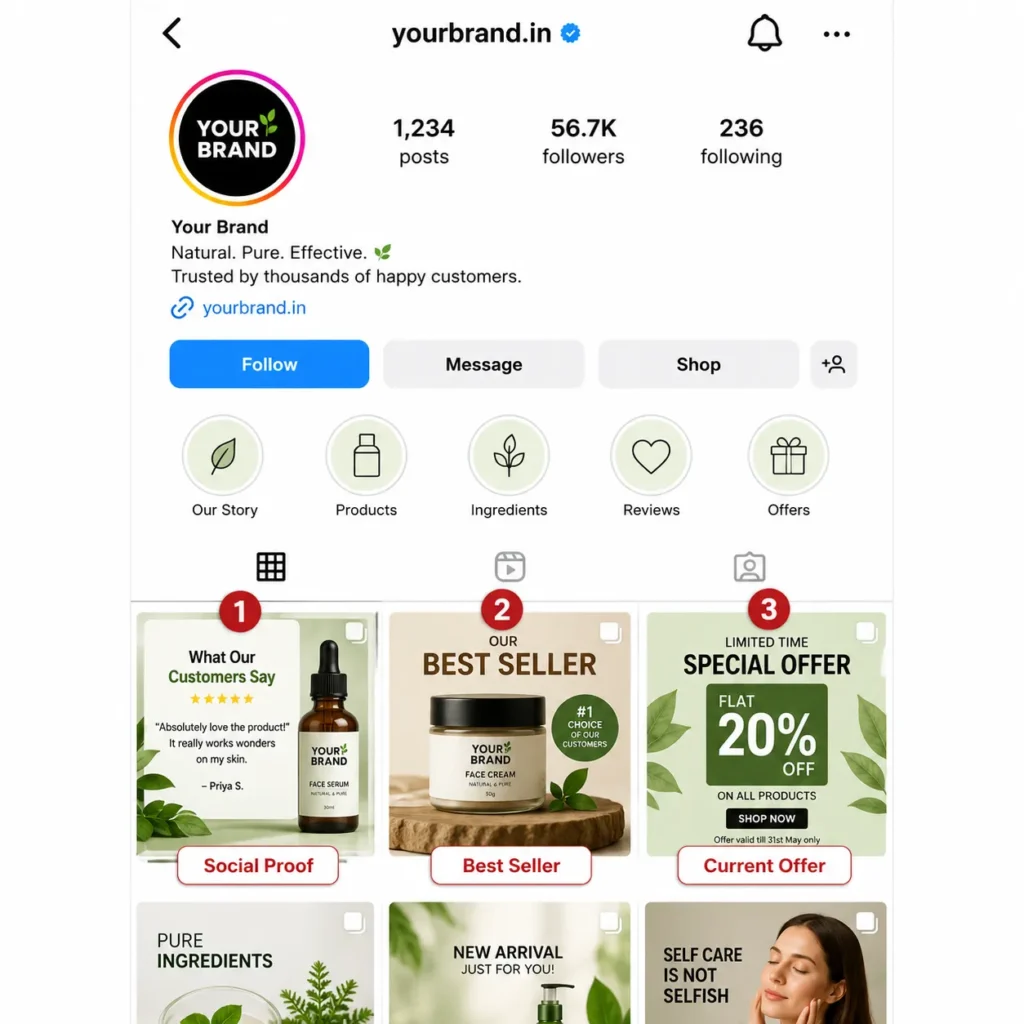
You get three slots at the top of your grid — use them strategically:
- First pin: Social proof — a testimonial, before-and-after, or review screenshot
- Second pin: Your best-selling or most profitable product, tagged so people can buy without scrolling
- Third pin: A current offer, promotion, bundle, or new launch — keep it updated
Story Highlights
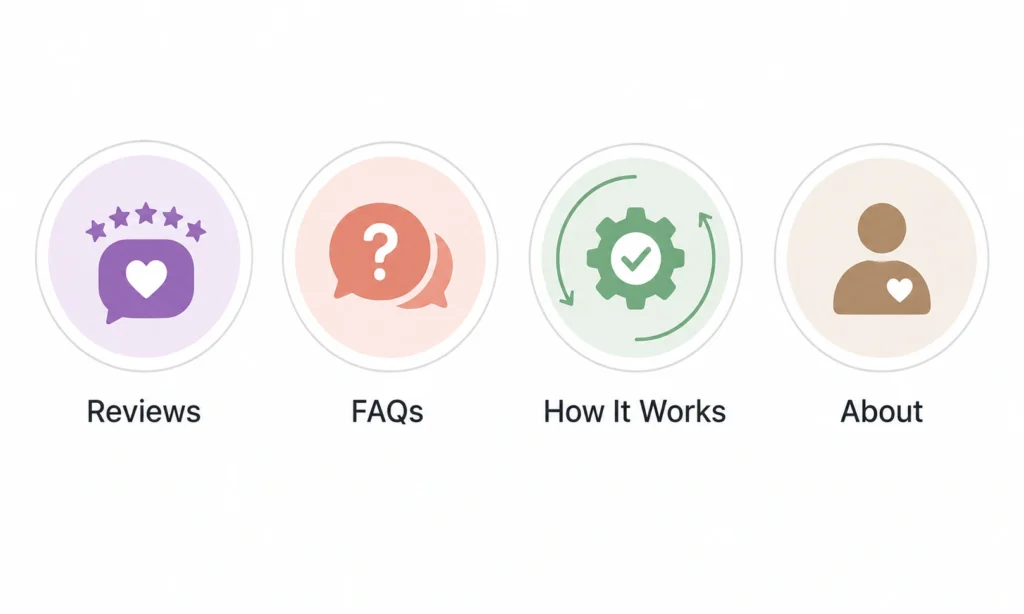
Think of Story Highlights as the “sidebar pages” of your shop:
- Reviews — real customer feedback
- FAQs — shipping, returns, and sizing questions
- How It Works — a quick product walkthrough
- About — your brand’s story
Set these up so they answer a potential buyer’s questions and objections before they ever need to send a DM.
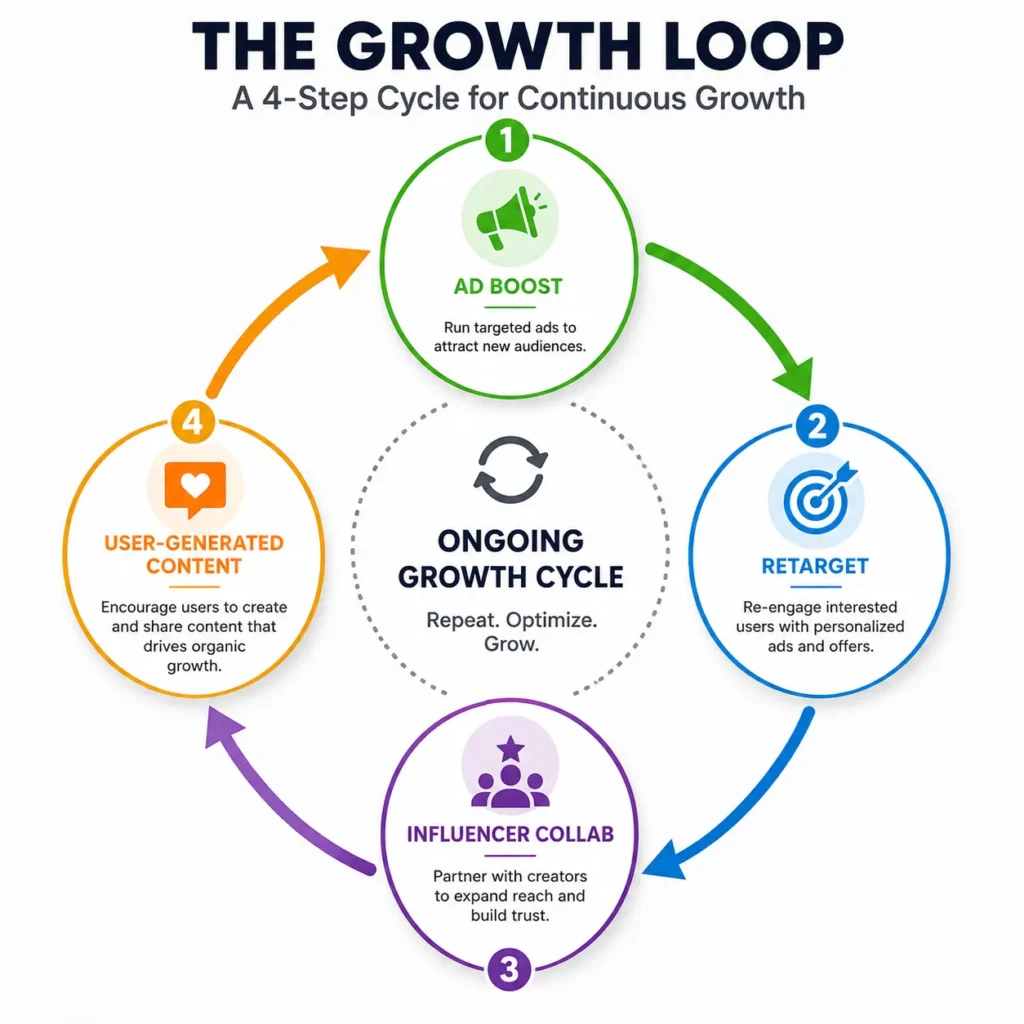
Ads and Influencer Collaborations
- Start small — run ads on your top-performing Reels with a $5/day budget, optimizing for “View Content” or “Add to Cart”
- Retarget people who engaged but didn’t buy with a small incentive, like 10% off or free shipping
- Scale the budget gradually as long as cost-per-purchase stays stable
- Build a list of micro-influencers whose audience matches your target customer, then reach out with a simple collaboration idea
- Share customer-generated content — testimonials, unboxings, or photos of people using your product — to build trust and social proof
Quick Recap
| Step | Key Action |
|---|---|
| 1 | Choose your selling method — DMs, link-in-bio, or Instagram Shop |
| 2 | Verify your domain and submit your shop for review |
| 3 | Build and sync a product catalog with properly sized images |
| 4 | Set up a Meta Dataset for tracking |
| 5 | Optimize your profile with pinned posts and Story Highlights |
| 6 | Scale with ads, retargeting, and influencer collaborations |
Frequently Asked Questions
No, but you do need a business or creator profile and a verified website domain.
Typically 3 days to 2 weeks, though it can occasionally take longer.
What should I check first if my products aren’t syncing? Start with image size (at least 500x500px), currency mismatches, and the Issues tab in Commerce Manager — these cover most sync problems.
Yes. With a well-optimized profile, a clear call to action, and trustworthy content, even an account with around 500 followers can sell consistently.
This guide is based on practical, hands-on experience. Instagram’s policies change from time to time, so it’s worth checking Meta’s official Commerce Manager Help Center for the latest details.